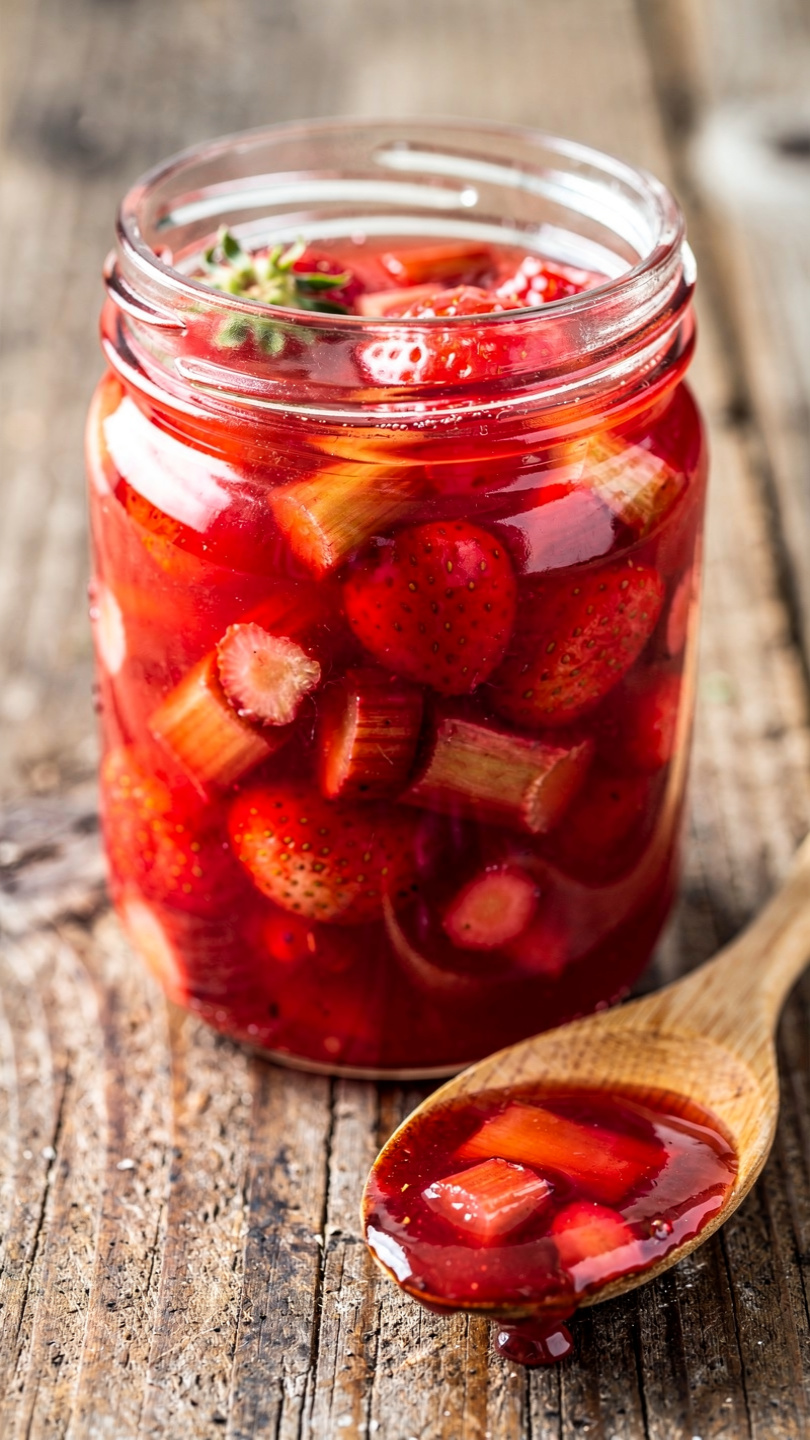
Strawberry Rhubarb Jam
This homemade Strawberry Rhubarb Jam is the perfect balance of sweet and tart, made with fresh fruit and ready to spread on everything from toast to biscuits.

The Jam That Tastes Like the Very Best of Spring
If you have ever stood at a farmer's market stall, caught the bright ruby-red gleam of fresh rhubarb stalks next to a flat of ripe strawberries, and thought those two need to become something together, then this recipe is for you.
Strawberry rhubarb jam is one of those preserves that earns its place in the back of the pantry and the front of your heart. It is tart and bright from the rhubarb, deeply sweet and fruity from the strawberries, and just complex enough that people will ask what your secret ingredient is. Spoiler: it is lemon zest.
This is a small-batch recipe perfect for home canners and first-timers alike. You do not need a whole bushel of fruit or a professional kitchen. You need one good pot, a little patience, and a cold plate in the freezer.
Getting the right equipment truly elevates the jam-making experience. A heavy-bottomed pot prevents scorching, good mason jars ensure a proper seal, and a wide-mouth canning funnel saves you from sticky countertops. These are the tools that make the process smooth and enjoyable:
Tools & Ingredients We Recommend


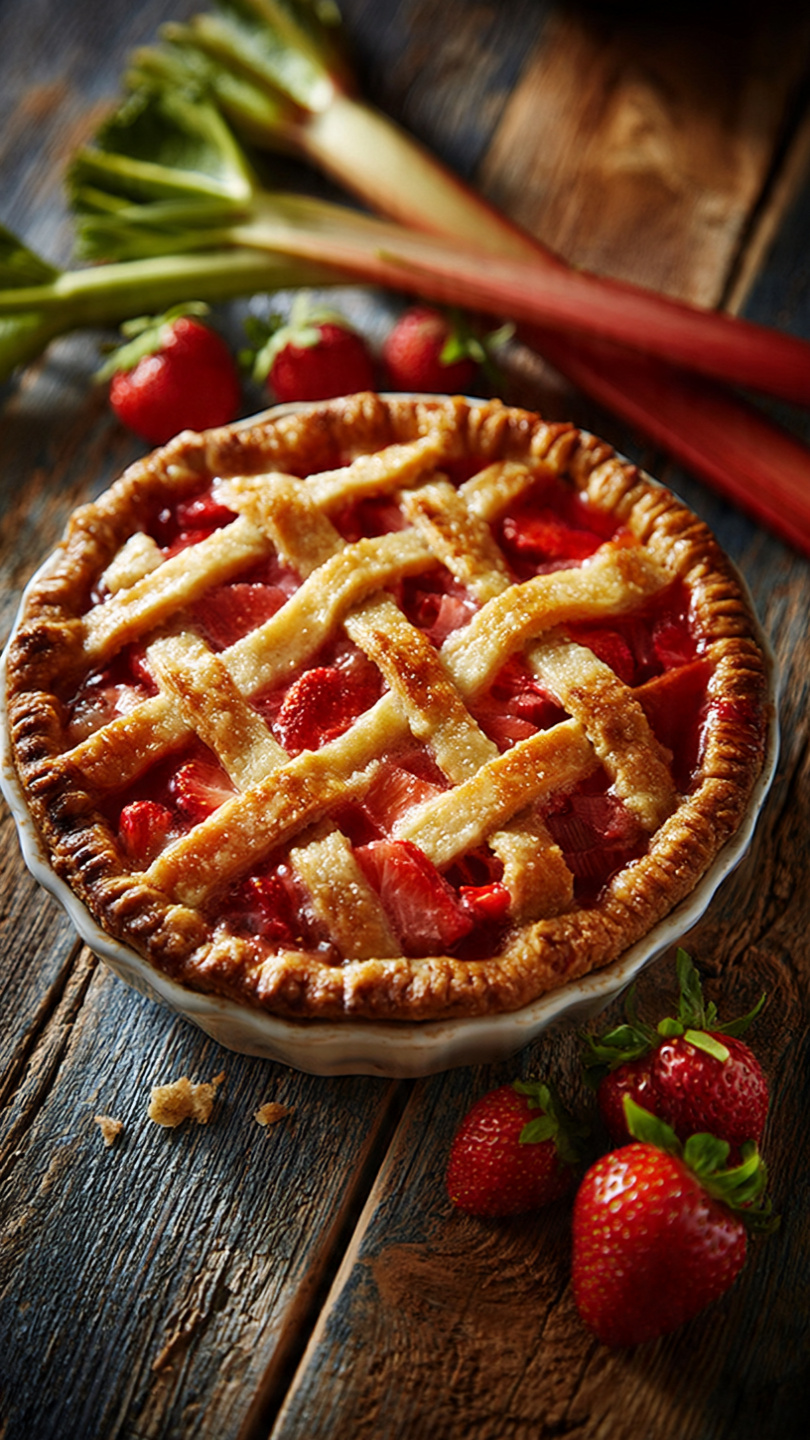
Why Strawberry and Rhubarb Are a Perfect Pair
Rhubarb is fiercely tart on its own, almost uncomfortably so. Strawberries are sweet and aromatic but can taste flat when cooked down into a preserve alone. Together, they create a dynamic balance that neither could achieve solo.
The magic ratio here is roughly 3 parts strawberry to 2 parts rhubarb. This gives you a jam that leans sweet-forward with that signature rhubarb pucker finishing things off cleanly. Play with the ratio to suit your taste, but this proportion has never steered me wrong.
Chef's Tip: Use the ripest, most fragrant strawberries you can find. The deeper the flavor going in, the more incredible the jam will be coming out. Slightly overripe berries are actually ideal here.
The Gel Test: Do Not Skip This Step
The biggest fear with homemade jam is ending up with syrup instead of a spreadable preserve. The gel test solves this entirely. Before you start cooking, pop a small ceramic plate into your freezer.
When you think the jam looks ready, drop a small spoonful onto the cold plate, wait one minute, then push it with your fingertip. If the surface wrinkles and the jam holds its shape rather than flooding back together, you have a set. If it slides and pools, it needs more time. Cook in one-to-two minute bursts, testing each time.
This method is far more reliable than clock-watching and will give you confidence every single time.
A Note on Canning vs. Refrigerating
This recipe gives you two paths. If you water-bath process the jars, you will have shelf-stable gifts you can hand out in December that taste like June. If you skip the canning step, simply cool the jars and refrigerate them immediately. Both approaches produce a wonderful jam. The only difference is how long it waits for you.
For beginners nervous about canning, start by refrigerating. Once you taste the results, you will want to make a bigger batch and learn the full process.
Ready to dive in? Here is the complete recipe with every detail you need:
Strawberry Rhubarb Jam
This homemade Strawberry Rhubarb Jam is the perfect balance of sweet and tart, made with fresh fruit and ready to spread on everything from toast to biscuits.
Ingredients
- 3 cups fresh strawberries, hulled and roughly chopped
- 2 cups fresh rhubarb, trimmed and sliced into 0.5-inch pieces
- 2 cups granulated sugar
- 2 tbsp fresh lemon juice, from about 1 lemon
- 1 tsp lemon zest, optional but recommended
- 1 tbsp powdered fruit pectin, helps achieve a firm set
- 1/2 tsp unsalted butter, reduces foaming
Instruction
Sterilize 3 half-pint (8 oz) mason jars and their lids by boiling them in water for 10 minutes. Keep warm until ready to fill.
Combine the chopped strawberries and rhubarb in a large heavy-bottomed saucepan or Dutch oven. Crush the fruit lightly with a potato masher to release the juices.
Stir in the pectin and lemon juice. Bring the mixture to a full rolling boil over medium-high heat, stirring constantly.
Add the sugar and butter all at once. Return to a full rolling boil and cook, stirring constantly, for exactly 1 minute.
Remove the pan from the heat and skim off any foam from the surface with a spoon. Stir in the lemon zest if using.
To test the set, place a small spoonful of jam on a cold plate and let it sit for 1 minute. Push it with your finger. If it wrinkles and holds its shape, it is ready. If not, return to heat and boil for another 1 to 2 minutes, then test again.
Carefully ladle the hot jam into the sterilized jars, leaving 0.25 inch of headspace at the top. Wipe the rims clean with a damp cloth and seal with the lids.
Process the jars in a boiling water bath for 10 minutes for shelf-stable storage, or skip this step and refrigerate immediately. Allow jars to cool completely at room temperature before storing.
Equipment
- Large heavy-bottomed saucepan or Dutch oven
- Potato masher
- Wooden spoon or silicone spatula
- Ladle
- Canning funnel
- 3 half-pint mason jars with lids and bands
- Large stockpot (for water bath canning)
- Jar lifter
- Small cold plate (for gel test)
- Fine mesh skimmer or large spoon
Notes
Serving Ideas and Creative Uses
Obviously, this jam is extraordinary on buttered toast or warm biscuits. But do not stop there.
- Swirl it into plain yogurt or oatmeal for a quick fruity breakfast
- Spoon it over a block of brie with crackers for an easy appetizer
- Use it as a filling between cake layers
- Stir a spoonful into a vinaigrette for a fruity salad dressing
- Layer it into thumbprint cookies or jam bars
Once you have a jar in the fridge, you will find yourself reaching for it constantly. That is the real sign of a great preserve.